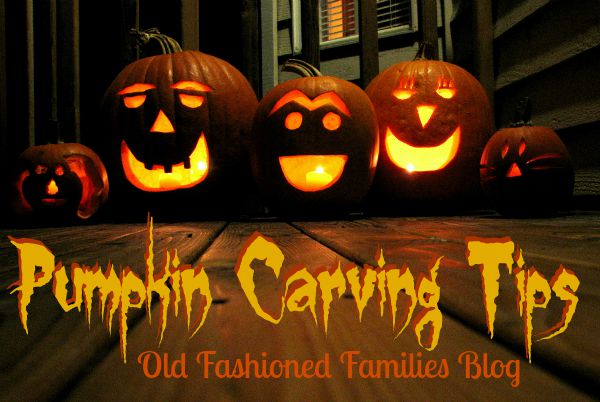
October is finally here! While Halloween is still several weeks away, I’ve already started thinking about costumes, parties and the best part–carving pumpkins. I have tons of fond memories of carving little grinning pumpkins and placing them on the stoop when I was growing up, and to me it just isn’t Halloween without a few jack-o-lanterns sitting around!
So, if you’re planning out your next Halloween pumpkin, then here are some tips to make sure yours is the coolest pumpkin ever!
Choosing the right pumpkin
- Make sure the pumpkin is fresh
- It needs to have a flat bottom–you don’t want it to roll away!
- Tall, skinny pumpkins are stringier on the inside, but make for more interesting shapes
- You might want to look for a pumpkin that isn’t as heavy, as that will mean the walls aren’t thick. However, if you get a heavier one, then you’ll get some pumpkin to bake with but it’ll require more work.
- Look for a sturdy stem–but don’t hold it by the stem!
Preparing the pumpkin
- Wash the pumpkin to get rid of any bacteria on the skin; this will help preserve it too
- Cut the top of the pumpkin at an angle so you can set it back when it’s emptied. Alternatively, you can cut out the bottom or a spot in the back instead, depending on your pattern.
- If the walls are thick, scoop out some of the lining, but be sure to save it for baking!
- Make sure that the walls opposite your carving purpose are smooth to make for the best lighting conditions
- Decide what you want to carve. You can find printable pumpkin patterns online.
Carving it right
- Carve at a 90 degree angle to make the pumpkin look best
- Try only cutting the skin and leaving the pulp for some pieces to get a more interesting look
- If you’re hand-drawing your pumpkin, make sure the pumpkin is completely dry and use a dry erase marker. It will wipe off when you’re done and make the pumpkin look better when finished
- If you’re tracing a pattern, use a toothpick, needle or other sharp object to poke small holes as a guide for carving.
- Carve the smallest parts first, then the larger parts
- If a piece falls out that shouldn’t, use toothpicks to secure it in place once the rest is carved
- Be patient! The slower your carve, the more precise it will be and the better it will look
- Use a pumpkin saw or other small saw, but be sure to actually saw–up and down motions–instead of trying to use it like a knife. Your cuts will be cleaner
Preserve your masterpiece
- If you didn’t do it earlier, wash the outside of the pumpkin with a bleach-water solution
- If the pumpkin starts to look shriveled, place it carved side down into a bucket of cold water and let it sit for a few hours or even overnight. It will refresh the pumpkin. Dry it as soon as you remove the pumpkin from the water.
- Add a little petroleum jelly to the carved parts of the pumpkin to help retain moisture and keep it from drying out
- Be sure to add a chimney for heat to escape if you’re using a candle. Drilling a small hole in the top should work.
Other Tips and Ideas
- Be patient!! The finished product will be well worth it
- Sprinkle cinnamon inside the pumpkin before you light it for a delicious pumpkin pie smell
- Can’t decide what to do? Try placing the pumpkin on its side and carving a face on the top, using the stem as a nose
- Depending on the size of your pumpkin, you can place colored tissue paper inside the pumpkin to create a colored look. Since tissue is flammable, be very careful doing this.
- For a surprising look, carve a green pumpkin or paint it.
- Instead of one big pumpkin, try carving several smaller pumpkins for a little pumpkin army!
- You can create eerie shadows by carving a pattern on the inside of the pumpkin
- Use your scraps – either use them for cooking or consider using them to add to your pumpkin, like adding a tongue, ears or a nose.
Do you have any other tricks for carving pumpkins? Tell us in the comments! Happy pumpkin carving everyone!


This is perfect! We’re just getting ready to carve ours and I love all your tips! We just moved down to Oregon from Alaska (where we just let our carved pumpkin freeze: it was preserved until spring!) and I love your tips about making them last! I am definitely going to try the cinnamon inside, too. And I had not idea you could bake with anything but pie pumpkins. What do you use yours in? Thanks for the inspiration!
Hope everything’s okay. I just found your site a few months ago and love the ideas and tips.